Appearance
Pest for Craft CMS
shell
composer require --dev markhuot/craft-pest-core
./craft pest # or ./vendor/bin/pest
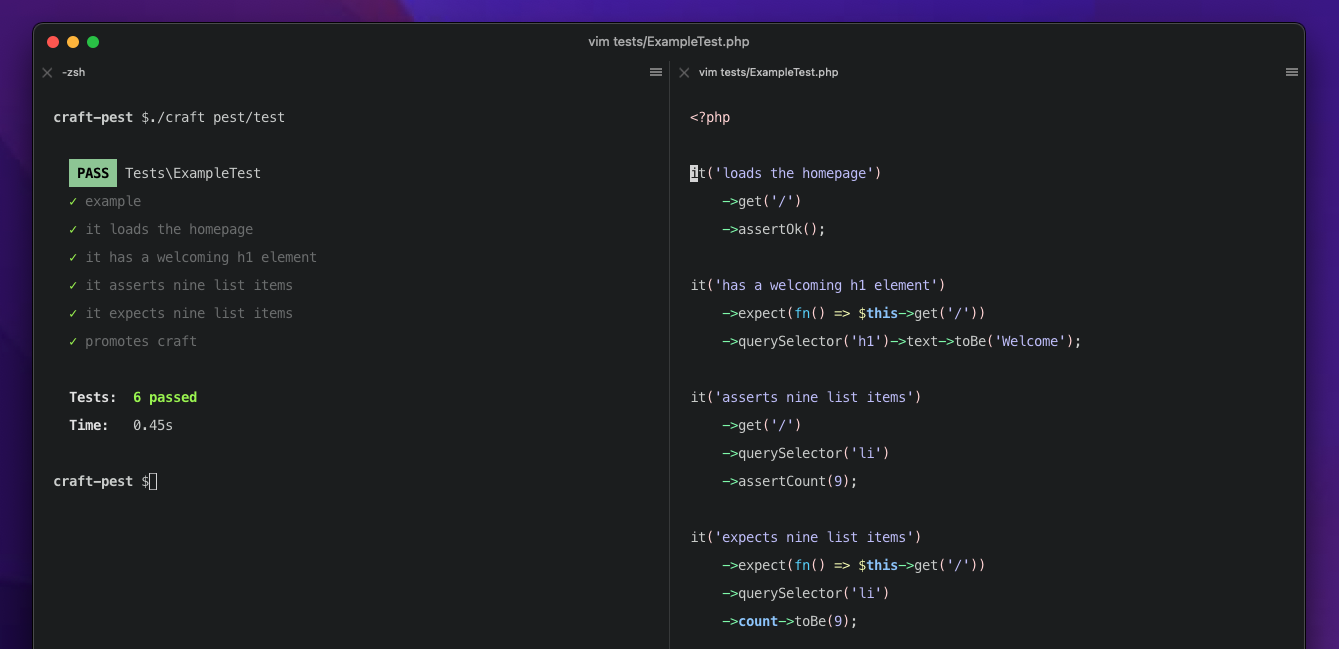
Handles the setup and installation of Pest in to Craft CMS. This allows you to write tests that look something like this!
php
it('loads the homepage')
    ->get('/')
    ->assertOk();

it('has a welcoming h1 element')
    ->get('/')
    ->expectSelector('h1')
    ->text->toBe('Welcome');

it('asserts nine list items')
    ->get('/')
    ->querySelector('li')
    ->assertCount(9);

it('promotes craft')
    ->get('/')
    ->assertHeader('x-powered-by', 'Craft CMS');

it('shows news on the homepage', function() {
    $titles = News::factory()->count(3)->create()->title;

    $this->get('/')
        ->expectSelector('.news__title')
        ->text->sequence(...$titles);
});
Craft Pest provides a number of testing aids to improve the developer experience while writing tests. The goal is to make test writing as easy as possible so more tests are written over the course of the project. Additional documentation on each feature can be found in the /docs folder. The following "kitchen sink" test has examples of most of them.
php
it('tests the kitchen sink', function () {
    // Factories can be used to create fields, sections, entries, etc… Realistically, much
    // of this may come from your project.yaml, but in the event you need to scaffold some
    // content types while testing a plugin or module, it is absolutely possible.
    // What's more, if a project.yaml is detected, Craft Pest will automatically check and
    // apply that config before each run to ensure you are always testing against a clean
    // schema.
    $section = Section::factory()->create();

    // Volume factories give you a local folder-based volume that ensures
    // your tests don't clutter your production S3 buckets, for example.
    $volume = Volume::factory()->create();

    $entry = Entry::factory()

        // Most fields on the entry factory can be defined just like you would'
        // when querying `craft.entries` in a template.
        ->section($section->handle)

        // Even custom fields can be defined while creating an entry. This allows
        // you to mock/simulate a variety of content elements without needing to
        // pass around a complex and huge "seeding" database.
        ->isPromoted(true)

        // Custom fields can be set to nested factories and will be automatically
        // created as they are needed.
        // Most factories can be utilized with as few as one additional field, like
        // assets here, which only need to know their volume. The contents of the
        // image will default to a 500x500px gray square.
        ->heroImage(Asset::factory()->volume($volume->handle))
        ->create();

    // For simple tests, you can call `->get()` or `->post()` to make simulated
    // HTTP requests against the Craft site. It will take a site (or CP) URL and
    // return the rendered response.
    // For many people, just starting out with testing, their first (and only)
    // test is simply `$this->get('/')` to ensure the homepage loads.
    $this->get($entry->uri)

        // All HTTP tests should probably check the status code of the response and
        // ensure Craft returned a 200 Ok response.
        ->assertOk()

        // A response can be further inspected to check that the exact HTML matches
        // your expectations. Here the `querySelector` and `expectSelector` methods
        // allow you to parse over the response using a familiar CSS-based syntax.
        ->expectSelector('h1')

        // Querying the HTML allows you to test the text, count, or even HTML of the
        // DOM to ensure it matches your expectations.
        ->text->toBe('Welcome');
});